


Get Started
Streamlined for Your Project
Follow those simple steps
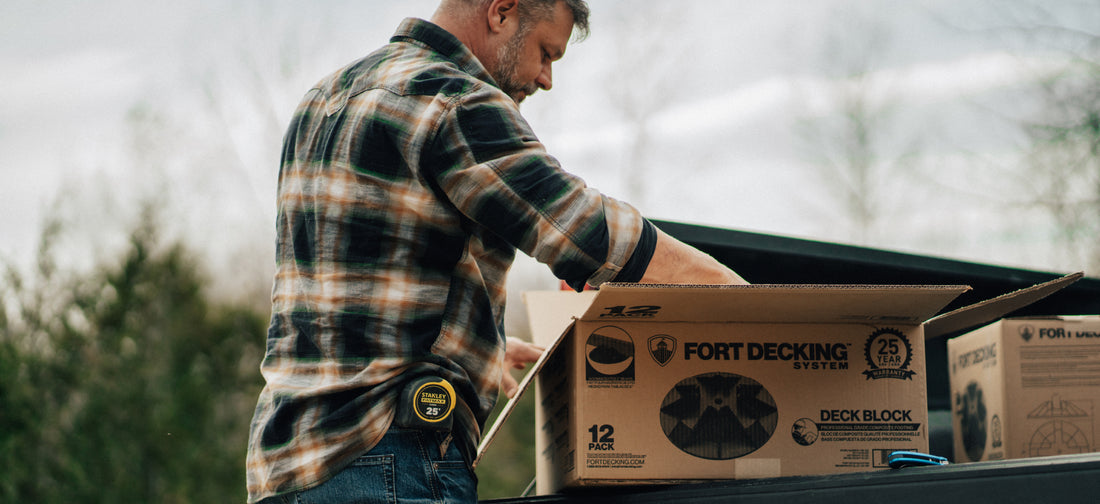
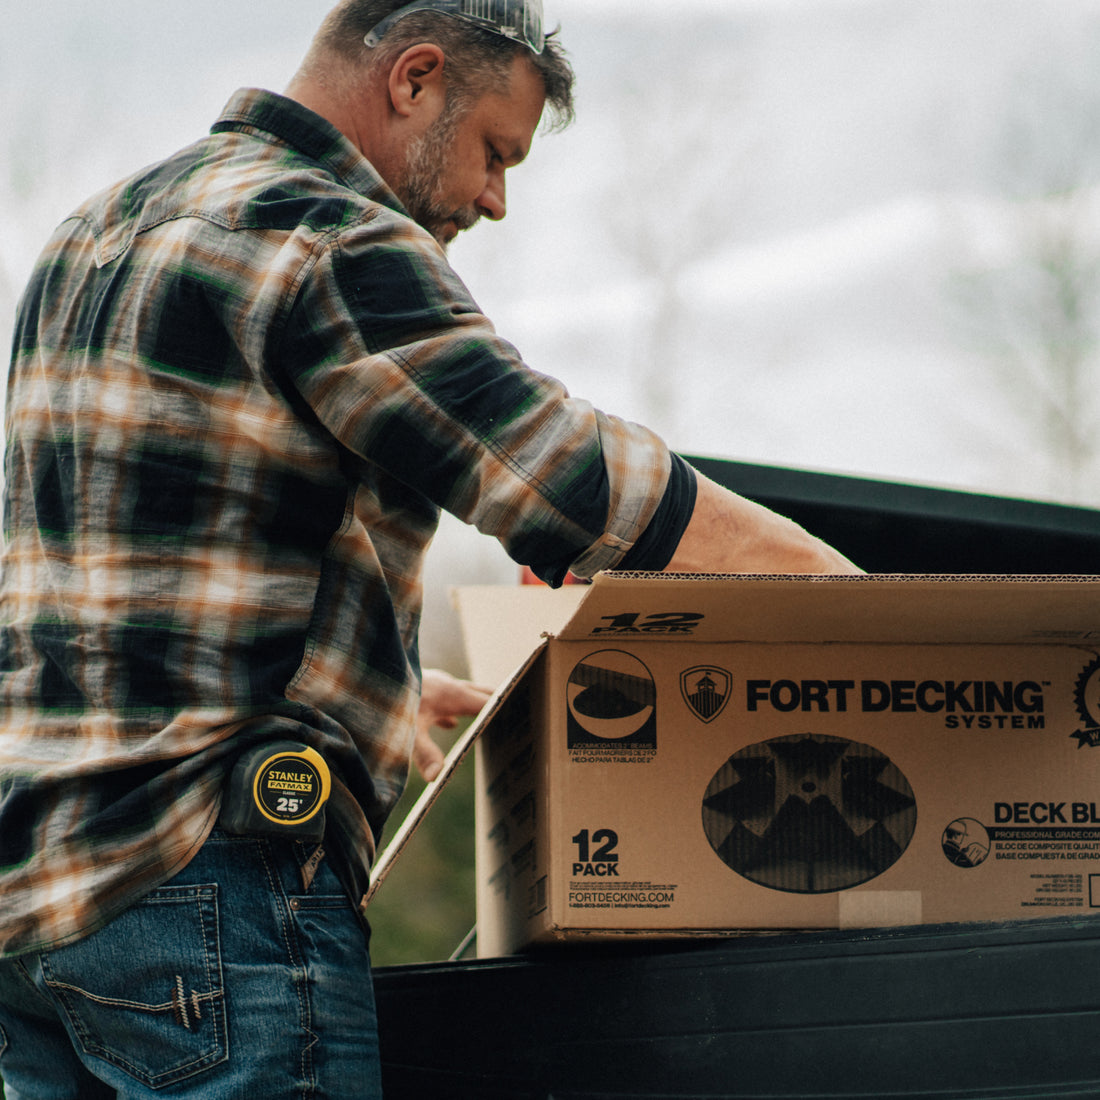
LET’S BUILD YOUR DECK WITH FORT DECKING!
FORT DECKING SYSTEM™ – DECK BLOCK INSTALLATION GUIDE
(General Information Only – Always Verify Local Building Codes)
Important Legal & Safety Notice The following is general guidance only for building low-profile, detached floating decks using Fort Decking System™ deck blocks. It is not engineering advice and does not replace local building codes or permit requirements. In most Canadian provinces and many northern U.S. states, deck blocks are NOT permitted for: • Decks attached to a house • Decks higher than 24 inches (600 mm) above ground • Decks supporting hot tubs, roofs, or heavy snow loads.
Frost heave can lift or tilt deck blocks even when installed on compacted gravel. Always check with your local building department before starting.
Step-by-Step Installation (General Guidance)
1. Planning & Permits
a) Draw your deck plan and confirm it meets setback and zoning rules b) Call 811 (U.S.) or Info-Excavation / Click Before You Dig (Canada) c) Obtain any required permits.
2. Layout
a) Mark the deck outline with stakes, string, and marking paint b) Check for square using the 3-4-5 method or by measuring equal diagonals.
3. Ground Preparation – The most important step for long-term stability
a) Remove grass, topsoil, roots, and all organic material to a depth of at least 6 in (150 mm) b) Level the area roughly (±2 in / 50 mm) c) Compact the exposed subsoil firmly with a hand tamper or plate compactor d) Lay a high-quality non-woven geotextile fabric over the entire area (overlap seams 12 in / 300 mm) e) Spread and level a minimum 6 in (150 mm) layer of compactable angular crushed gravel (examples: ¾-in minus, crusher run, HPB, or ⅜–¾ in clear stone if drainage is excellent) f) Compact the gravel in 3–4 in (75–100 mm) lifts with a plate compactor until rock-solid and perfectly level.
Note for cold climates: In areas with frost depth >24 in (600 mm) or heavy clay soil, even a 12 in (300 mm) gravel pad may not prevent movement. Many municipalities require concrete piers or screw piles below the frost line for anything other than very low, detached decks.
4. Placing the Deck Blocks
a) Follow your framing plan (typical spacing: 4–8 ft / 1.2–2.4 m on center) b) Set each Fort Decking block directly on the compacted gravel pad c) Use a 4–6 ft (1.2–1.8 m) level or laser level to ensure every block is perfectly level and at the same height. Minor adjustments can be made with thin composite shims or gravel screenings (never wood).
5. Install Beams & Framing
a) Place pressure-treated or cedar beams/joists into the block notches b) Install joists with proper hangers and corrosion-resistant fasteners.
6. Decking, Railings & Stairs
a) Install decking boards and any required guardrails or stairs (mandatory above 24 in / 600 mm in most jurisdictions).
7. Final Check
a) Walk the deck – there must be no rocking or soft spots b) Arrange a final municipal inspection if required c) Enjoy your new deck!
Quick Reference – Minimum Compacted Gravel Pad Thickness
Climate / Region
Recommended Thickness
Mild climates (little or no frost)
4–6 in (100–150 mm)
Most of Canada & Northern U.S.
6–8 in (150–200 mm) minimum
Severe frost or heavy clay soil
Consider screw piles or frost-protected footings instead of blocks.
We want your deck to last for decades. When in doubt, consult a licensed contractor or structural engineer.
Questions?
Reach us at info@fortdecking.com or contact your local building department before you dig.

